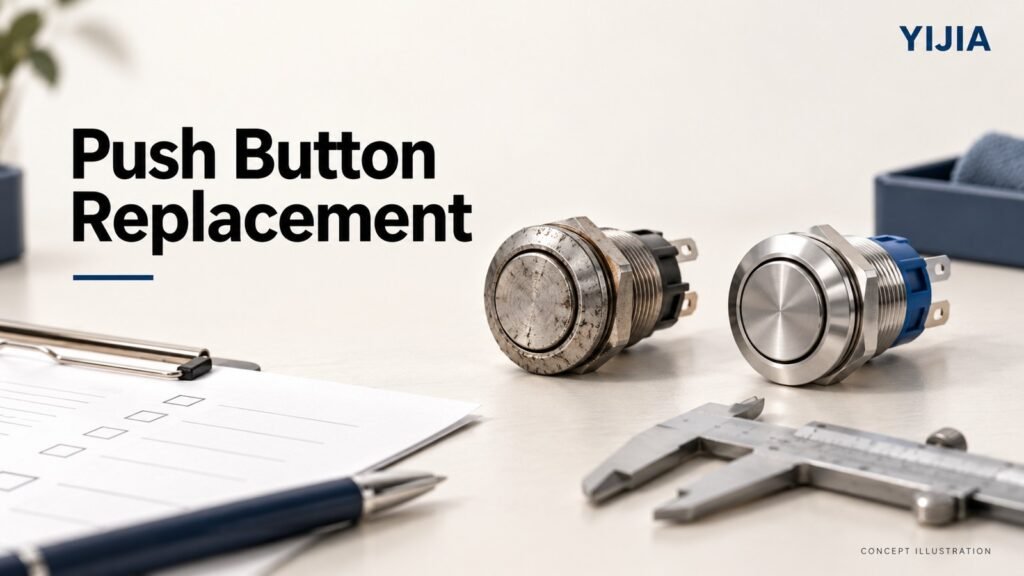
Concept illustration. Similar appearance does not establish replacement compatibility.
A push button switch replacement should be approved against the original function, mounting arrangement and electrical requirements—not just its front diameter. When the old model is unknown, build an identification record first. Then compare a documented candidate and approve a sample before releasing a repeat order.
A button that fits the opening may still have the wrong action, contacts, lamp supply or rear connection. Treat those as separate compatibility checks. This is a purchasing checklist; removal, circuit inspection and installation belong with qualified personnel following the equipment procedures.
Identify the old assembly before requesting a substitute
Ask the equipment owner or qualified technician for clear photographs of the front, side and rear, together with every readable marking. Include the actuator, contact block, lamp unit and terminal labels where these are separate parts. A brand name on the front may identify only part of the assembly.
Collect the machine reference, existing parts list and relevant circuit drawing if available. Record what the operator expects the button to do: return when released, remain in position until pressed again, or perform another documented action. Do not infer circuit function from colour or from the number of visible terminals.
If a marking is unreadable, say so in the inquiry and provide another form of evidence. Guessing an order-code character can produce a convincing but incorrect match. The supplier should be able to distinguish confirmed requirements from features inferred from a photograph.
Compare the original and candidate side by side
Use a comparison record with an evidence reference for each row. “Looks similar” is not an acceptance result. Where the original data is unavailable, the equipment owner must establish the required function and constraints before approving a candidate.
Compatibility item
Evidence for the existing assembly
Evidence required for the candidate
Mounting
Measured opening, panel thickness and fixing arrangement
Dimensioned drawing and permitted mounting conditions
Rear clearance
Available depth and nearby components
Installed envelope including terminals and wiring
Action
Documented momentary or maintained behaviour
Exact action associated with the order code
Contacts
Circuit drawing and contact identification
Contact diagram and applicable switching ratings
Illumination
Lamp supply and function in the circuit
Lamp voltage, AC/DC suitability and connection details
Wiring
Conductor, termination and routing record
Approved terminal method and access requirements
Environment
Actual location and service conditions
Relevant limits for the complete selected configuration
Acceptance
Required equipment function
Recorded sample review and engineering approval
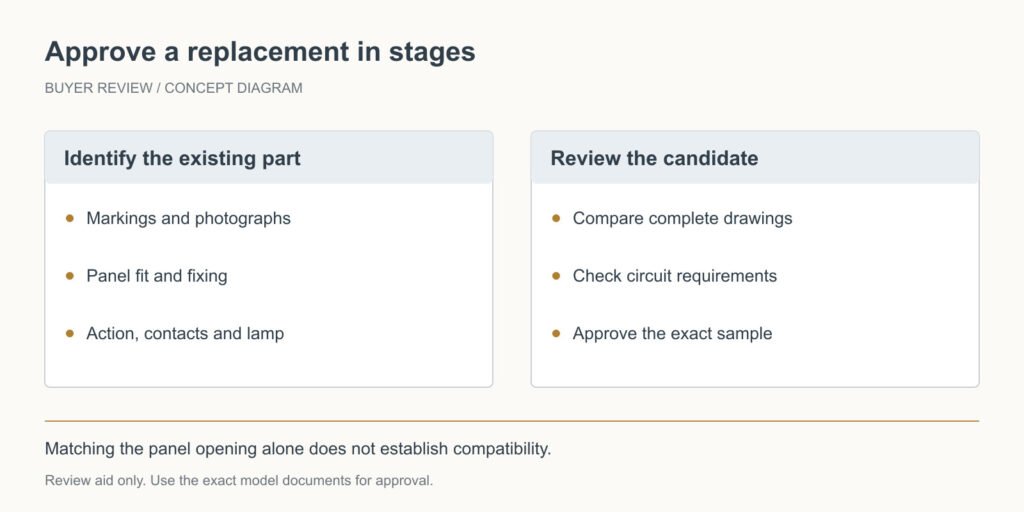
Concept diagram for purchasing review. Use the exact model documentation for approval.
Check mounting beyond the nominal diameter
Compare panel thickness, the fixing method and any anti-rotation feature. Check the space occupied by the assembled rear parts, not only the actuator body. A candidate can pass the hole-size check but interfere with a cable duct or prevent access to a retaining nut.
For an existing opening described in imperial units, work from measured dimensions and drawings rather than a rounded conversion. The guide to a 5/8-inch push button for an existing panel covers that mounting question separately.
Match action, contact function and load
A momentary and a maintained button are not interchangeable merely because they share a housing. Confirm the contact arrangement in the relevant operating states and the way the circuit uses those contacts. Match switching requirements to the actual load, including AC or DC operation and load type.
An apparently higher current rating is not sufficient evidence for every circuit. Low-current signalling has different selection questions from switching a larger load. Ask the reviewer to confirm the applicable rating and contact suitability for the intended circuit.
Treat illumination as its own requirement
The lamp supply may differ from the circuit switched by the contacts. Record the required lamp voltage, AC/DC supply, connection identification and any applicable polarity instructions. Do not infer lamp voltage from the machine supply or the colour of the lens.
The LA16 contact and LED connection guide is relevant background when reviewing that family. Use the exact candidate’s diagram for approval; a diagram from another family is not a substitute.
Approve a candidate, then a sample
First review the candidate’s full order code, drawing and electrical documentation. List any differences explicitly. A change in terminal direction, connection method or mounting hardware may be acceptable, but it should be approved before purchasing treats the item as a replacement.
Next, have the sample assessed in the intended mounting arrangement and through the equipment owner’s approved functional checks. Record the sample identification, documentation revision and acceptance decision. If the replacement changes a safety-related function, it requires the appropriate engineering review; physical fit alone cannot establish suitability.
For recurring purchases, attach the approved candidate record to the purchase specification. Require review of later substitutions or configuration changes. This prevents a successful sample trial from being undermined by an order that specifies only a diameter and button colour.
Separate identification evidence from assumptions
An old button may have several markings that belong to different parts. The visible head, contact block and lamp unit may each have a reference. Ask the equipment owner to record all readable information before deciding which marking is the complete assembly identifier. A purchasing request that includes only the most visible number can lead a supplier to quote one component when the machine requires the whole assembly.
Use an identification sheet with separate fields for observed facts and unresolved requirements. A legible marking is an observed fact. A conclusion about contact function from the front color is an assumption. Keeping those categories separate helps the technical reviewer decide what additional information is needed and prevents a tentative guess from being repeated as a confirmed specification in later correspondence.
Photographs should help locate features, not replace measurements and documentation. A front view can show the actuator form; a side view can clarify the assembled shape; a rear view can help identify connection points and markings. Inspection must follow the equipment owner’s procedures, including appropriate isolation and access controls. Purchasing should not ask someone to expose an energized assembly simply to obtain a better photograph.
Distinguish a direct spare from an engineering alternative
A request for the same approved item and a request for a substitute are different purchasing tasks. For a direct spare, confirm the complete reference and any revision or configuration details relevant to the existing machine. For an alternative, identify the differences that must be reviewed. The supplier’s statement that a product is similar can help shortlist a candidate, but it does not replace approval by the equipment owner.
Consider a hypothetical replacement that fits the opening but uses a different connection direction. Its mounting dimension may be acceptable while the conductor route becomes unsuitable. Another candidate might match the front appearance but have a different lamp supply. Neither should be described simply as equivalent. List the difference, its effect on the installation and the evidence needed to resolve it before purchasing commits to a batch.
The review also needs to consider whether the replacement is a complete assembly or a mix of old and new components. Do not assume that an old contact block, lamp part or mounting accessory can be transferred to a new actuator because the parts appear to connect. Compatibility between separately supplied components must be documented for the proposed combination. If that evidence is unavailable, keep the mixed assembly outside the approved scope.
Define the acceptance record before the sample arrives
Prepare the comparison fields before receiving a sample so that appearance does not dominate the decision. Record the required function, mounting constraints, contact arrangement, applicable load and illumination requirement. Attach the candidate drawing and identify which differences are already accepted, which need evaluation and which are unacceptable. This creates a clear question for the sample review instead of a vague request to see whether it works.
The equipment team should set the relevant functional and installation checks. A purchasing record can capture the outcome, but should not prescribe an improvised test for a safety-related function or an energized circuit. The result should identify the exact sample, configuration, reviewed conditions and person or team responsible for acceptance. A demonstration outside those conditions does not establish suitability for the machine.
If a sample fails a fit or access check, identify the reason before requesting another candidate. The problem may be rear space, mounting hardware, terminal direction or an unrelated panel obstruction. A precise rejection reason helps the supplier propose a meaningful alternative. “Too large” is less useful than identifying the particular drawing reference or installation feature that conflicts with the available space.
Prevent repeat-order errors after a successful replacement
Update the component record after the replacement has been accepted. Preserve the new full reference, supporting drawing and any approved installation changes. Where the old reference remains in a maintenance list, show its relationship to the approved replacement clearly. Otherwise, a future purchaser may reorder the obsolete item or select another similar-looking substitute without knowing why the first replacement was chosen.
Keep different machine variants distinguishable. Two machines can use the same front style while requiring different contacts, lamp supplies or connection arrangements. A stores label based only on color and diameter can hide those differences. Link the stock item to the approved assembly reference and relevant machine record so maintenance can request the correct spare without reconstructing the original selection exercise.
A later change to the machine can also invalidate part of the original comparison. If the load, controller input, enclosure or operating environment changes, the previously accepted button needs review against the revised requirements. This does not mean every reorder requires a new engineering project. It means the acceptance record should make its application boundary clear enough to recognize when a new review is necessary.
The final replacement record should also identify any retained accessories. If the fixing hardware, legend or protective part remains from the original assembly, record the evidence that permits its continued use. If new parts are required, place them on the purchase list rather than leaving them as an assumption for installation staff. This keeps the approved replacement scope complete and reviewable.
FAQ
Can a supplier identify a replacement from one front photograph
A front photograph may narrow the search, but it rarely establishes the rear assembly, electrical ratings or lamp configuration. Include markings, rear photographs and circuit requirements.
Does the same panel opening mean the new button is compatible
No. Panel thickness, fixing details, rear clearance, action, contacts and illumination still need comparison.
Can I approve a cross-brand equivalent from a similar catalogue description
Use that description to identify a candidate, not to approve interchangeability. Compare the exact documentation and obtain the required sample and equipment review.
Request a Replacement Compatibility Review
Use YIJIA’s inquiry page to send the existing markings and photographs, mounting dimensions, contact function, lamp requirements and quantity. State whether the request concerns one spare or a repeat machine build. Ask whether a suitable candidate can be offered, with matching documentation and a list of differences to review before sample approval.
Metal push button switch are essential components in modern electronic and industrial devices. Whether it’s powering a machine, operating a control panel, or activating a safety system, these switches provide durability, reliability, and precision control. In this blog, we will explore two main types: momentary metal push button switches and latching metal push button switches. Understanding their differences […]
Process illustration. The depicted stages are a conceptual overview for the article. Define LA16 acceptance criteria before approving samples or bulk orders. Match the inspection scope to the agreed configuration, drawings and application requirements, and request the relevant records. Verify how sampling and test conditions apply to the order instead of assuming a universal inspection […]
Emergency Stop Switch YJ-GQ22-11ZS/S: Safety at Your Fingertips Yi Jia Button brings you the YJ-GQ22-11ZS/S from the renowned GQ22 series – a robust emergency stop switch designed for real-world industrial strength and dependability. This isn’t just any switch; it’s your quick-action safety companion for any situation that demands an immediate halt. Easy to Press With […]
We use cookies to enhance your browsing experience, serve personalised ads or content, and analyse our traffic. By clicking "Accept All", you consent to our use of cookies.