Push button switches are a common component in electrical systems, providing a convenient way to control various devices and circuits. These switches are designed to be pressed or pushed, hence the name “push button.” They are widely used in residential, commercial, and industrial settings for applications such as lighting control, motor control, and doorbell activation.
In this comprehensive guide, we will explore the basics of push button switches and provide a step-by-step tutorial on how to wire and install them. Whether you’re a DIY enthusiast looking to upgrade your home’s electrical system or an electrician seeking a refresher on push button switch installation, this guide is for you.
Push button switches are electrical devices that are designed to control the flow of electricity in a circuit. They consist of a button or actuator that, when pressed, completes or interrupts the circuit, allowing current to flow or preventing it from flowing. These switches are commonly used in various applications where manual control is required.
The basic functionality of a push button switch involves the use of spring-loaded contacts. When the button is pressed, the contacts come together, allowing electric current to pass through. When the button is released, the contacts separate, breaking the circuit and stopping the flow of current.
When selecting a push button switch, there are several factors to consider to ensure that you choose the right one for your specific application:
Voltage Rating: It is crucial to select a push button switch with a voltage rating that matches or exceeds the voltage of your electrical system. Using a switch with a lower voltage rating can lead to malfunctions or even damage.
Current Rating: The current rating of the switch should be able to handle the maximum current that will flow through it. Exceeding the current rating can cause overheating and potentially lead to electrical hazards.
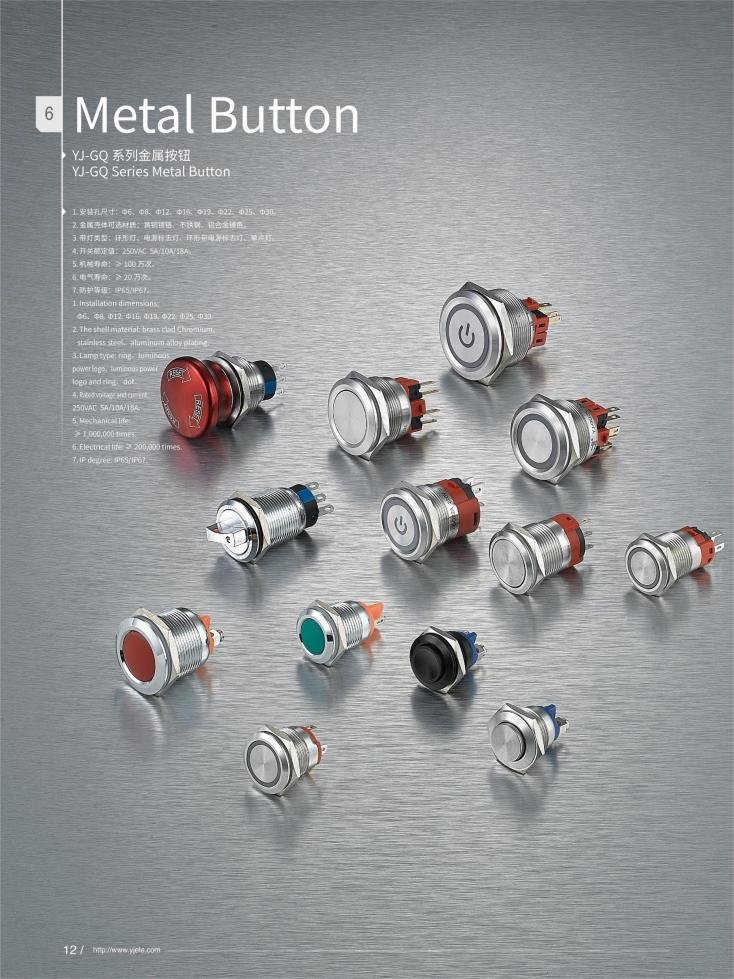
Durability: Depending on the environment in which the switch will be installed, durability becomes an important consideration. If it will be exposed to harsh conditions or frequent use, opt for switches made from robust materials that can withstand wear and tear.
Environmental Factors: Consider any environmental factors that may affect the performance of the switch, such as temperature extremes, moisture, or exposure to chemicals. Choose switches designed specifically for these conditions if necessary.
Gather the Necessary Tools and Materials
Before you begin wiring and installing a push button switch, make sure you have the following tools and materials:
It is crucial to prioritize safety when working with electricity. Ensure that you have turned off the power supply to the circuit you will be working on. If necessary, use a voltage tester to verify that there is no electrical current present.
Push button switches typically have three terminals: common (COM), normally open (NO), and normally closed (NC). Understanding these terminals is essential for proper wiring.
The common terminal (COM) is where the power source connects. The normally open terminal (NO) remains disconnected until the button is pressed, completing the circuit. The normally closed terminal (NC) is connected until the button is pressed, breaking the circuit.
To identify these terminals on your push button switch, refer to its documentation or markings. They are usually labeled or color-coded for easy identification.
Follow these step-by-step instructions to connect the wires to your push button switch:
After wiring your push button switch, it’s important to test and verify its installation before finalizing everything.
Turn on the power supply and press the button on your newly installed switch. Check if it activates or deactivates your intended load as expected. If there are any issues, double-check your wiring connections and troubleshoot accordingly.
Remember to always follow safety precautions when testing electrical circuits and devices.
The step-by-step guide provided detailed instructions on gathering the necessary tools and materials, identifying the wiring configuration, connecting the wires, and testing the installation.
Now armed with this knowledge, we encourage you to apply what you’ve learned and safely install push button switches in your own projects. Remember to prioritize safety precautions when working with electricity.
Thank you for joining us on this comprehensive journey to learn how to wire and install push button switches. Happy installing!
We will respond to your inquiry within 24 hours
We value your privacy
We use cookies to enhance your browsing experience, serve personalised ads or content, and analyse our traffic. By clicking "Accept All", you consent to our use of cookies.